Propagation kits are an invaluable tool for gardeners looking to clone plants and create identical replicas of their favorite varieties. With the right supplies and proper technique, using a propagation kit can lead to successful cloning and the expansion of your garden.
To successfully use a propagation kit, you will need various supplies such as an incubator kit, bloom nutrients, root drip, veg foliar, pH adjusters, clone LED or T5 light, sterilized tools, and more. These supplies will help create the optimal environment for your clones to thrive.
Following the proper process, which includes preparing a nutrient-rich solution, selecting a healthy mother plant, taking cuttings, treating them with rooting hormone, and placing them in the kit, will increase your chances of successful cloning.
Key Takeaways:
- Propagation kits are essential for cloning plants and producing identical replicas.
- Supplies needed for cloning include an incubator kit, nutrients, root drip, pH adjusters, and lights.
- Preparing a nutrient-rich solution and selecting a healthy mother plant are crucial steps in the cloning process.
- Steps for cloning plants include pre-soaking plugs, taking cuttings, treating them with rooting hormone, and placing them in the kit.
- Environmental factors such as light cycles, intensity, temperature, and humidity play a vital role in successful cloning.
Supplies Needed for Cloning Plants
When it comes to cloning plants using a propagation kit, having the right supplies is essential. These supplies will not only help you set up an optimal environment for successful cloning but also ensure that the process is efficient and effective. Here are the key supplies you will need:
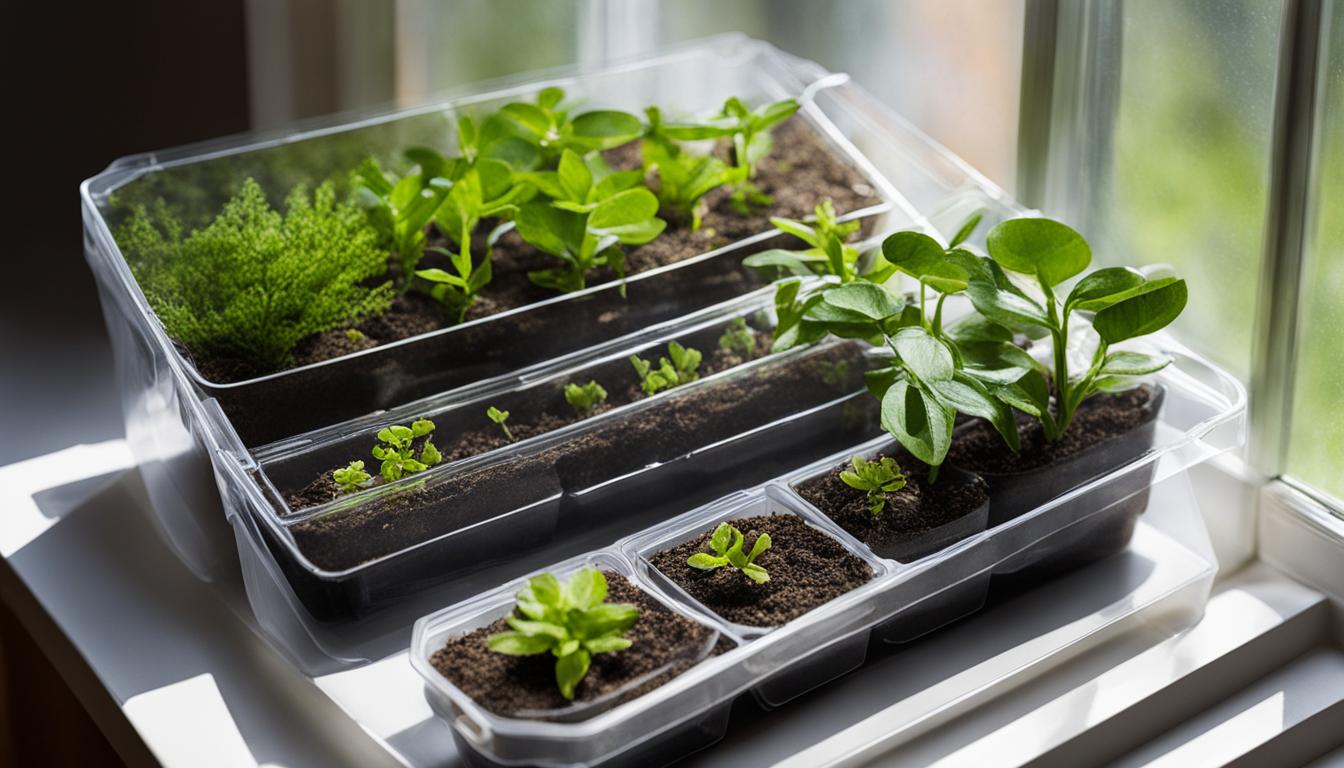
- Incubator Kit with Trays and Dome: An incubator kit provides a controlled environment for the clones to root and grow. It typically includes trays and a dome to maintain humidity levels.
- 40/40 Plugs for Rooting: These plugs are specially designed to support root development in clones. They provide the ideal medium for the clones to establish their roots.
- Bloom Nutrients: Bloom nutrients contain essential elements that stimulate root growth and overall plant development. They provide the necessary nutrients for the clones to thrive.
- Root Drip: Root drip is a liquid solution that promotes healthy root development. It helps enhance the absorption of nutrients and encourages robust root growth.
- Veg Foliar: Veg foliar is a spray that contains nutrients for foliar feeding. It provides the clones with additional nutrients through their leaves, supporting their overall growth.
- pH Adjusters: pH adjusters are used to maintain the pH levels of the nutrient solution. Clones require a specific pH range for optimal nutrient uptake and growth.
- Clone LED or T5 Light: A clone LED or T5 light provides the necessary lighting conditions for the clones to thrive. It ensures they receive the right amount and spectrum of light for photosynthesis.
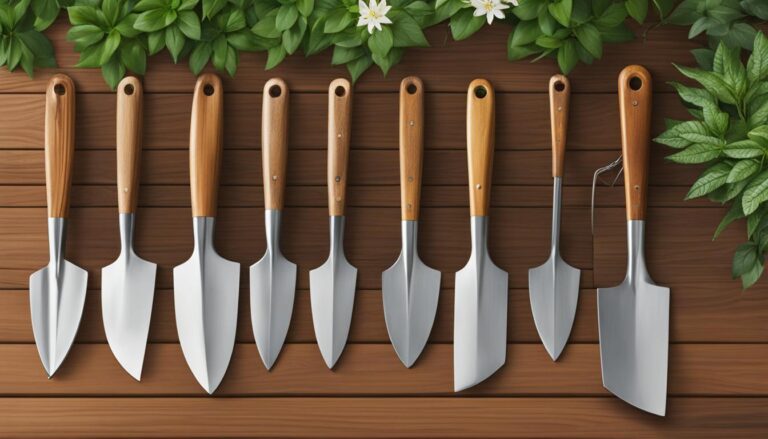
- Sterilized Tools: Sterilized tools, such as pruners and scissors, are crucial for taking cuttings from the mother plant. They help prevent the transfer of diseases or pests to the clones.
- Measuring Cups and Meters: Accurate measurement is crucial for preparing the nutrient solution. Measuring cups and meters ensure precise dosing of nutrients and pH adjusters.
- Plant Tags: Plant tags are used to label the clones, allowing you to keep track of different varieties or strains. They help maintain organization and easy identification.
Having these supplies on hand will set you up for a successful cloning process, ensuring that your clones have everything they need to grow and thrive. With the right environment and nutrients, you can create identical replicas of your favorite plants and expand your garden with ease.
| Supply | Function |
|---|---|
| Incubator Kit with Trays and Dome | Creates a controlled environment for the clones to root and grow |
| 40/40 Plugs for Rooting | Provides an ideal medium for root development in clones |
| Bloom Nutrients | Stimulates root growth and overall plant development |
| Root Drip | Promotes healthy root development and nutrient absorption |
| Veg Foliar | Provides additional nutrients through foliar feeding |
| pH Adjusters | Maintains the proper pH levels of the nutrient solution |
| Clone LED or T5 Light | Provides the necessary lighting conditions for photosynthesis |
| Sterilized Tools | Ensures clean and precise cutting of the mother plant |
| Measuring Cups and Meters | Accurate measurement of nutrients and pH adjusters |
| Plant Tags | Labels and organizes the clones for easy identification |
Preparation for Cloning with a Propagation Kit
Before starting the cloning process with a propagation kit, it is crucial to prepare the necessary supplies and create a nutrient-rich solution.
To create the optimal solution for clone growth, mix bloom nutrients, root drip, and pH adjusters with fresh water. This nutrient-rich solution will provide the essential elements needed for successful cloning.
In addition to preparing the solution, it is important to select a healthy mother plant. Choose a plant that is free from pests and diseases, as this will greatly increase the chances of success in the cloning process.
Steps for Cloning Plants with a Propagation Kit
Cloning plants using a propagation kit is a straightforward process that requires careful attention to detail. By following these step-by-step instructions, you can successfully clone your plants and create identical replicas of the parent plant.
Step 1: Pre-soak the 40/40 plugs
Start by pre-soaking the 40/40 plugs in a nutrient solution. This will ensure that the plugs are properly hydrated before planting the cuttings. Allow them to soak for the recommended time specified in the propagation kit instructions.
Step 2: Place the pre-soaked plugs in the incubator tray
Once the plugs are adequately soaked, place them in the incubator tray. Make sure they are securely positioned to prevent movement during the cloning process. The tray should provide a stable and supportive environment for the cuttings.
Step 3: Select a healthy branch from the mother plant
Choose a healthy branch from the mother plant that has at least 4 nodes and a minimum height of 5-7 inches. Selecting a vigorous branch will increase the chances of successful cloning and ensure the quality of the resulting clones.
Step 4: Cut the branch and treat with rooting hormone
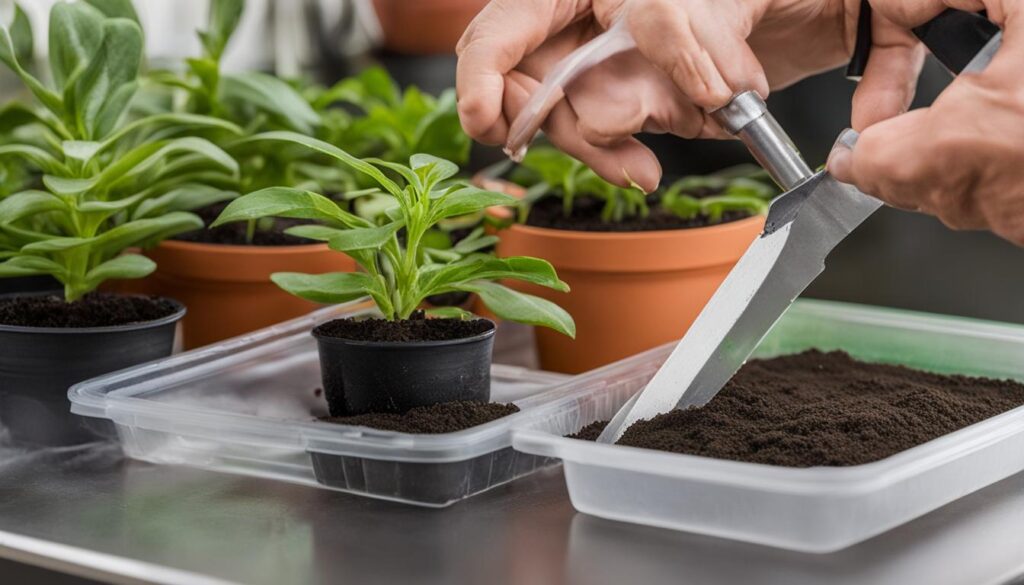
Using sterilized tools, cut the selected branch just below the bottom node. Remove any large fan leaves from the cutting to promote healthy growth. Dip the bottom of the clone stem in rooting hormone to stimulate root development.
Step 5: Insert the clone into the 40/40 plug
Carefully insert the clone into the pre-drilled hole of the 40/40 plug. Gently press the plug around the stem to ensure a secure fit. This will provide the clones with the necessary support and optimal conditions for rooting.
Continue with the remaining cuttings, following the same process. Once all the clones are inserted, you can move on to the next steps of the cloning process, such as foliar spraying, adjusting the incubator environment, and providing proper lighting.
Environmental Factors for Successful Cloning
Creating the optimal environmental conditions is crucial for successful plant cloning with a propagation kit. By ensuring the right levels of light, temperature, and humidity, you can promote rapid and healthy root development in your clones.
Light
During the cloning process, providing the right amount of light is essential. Aim for a light cycle of 18-24 hours, which mimics the long days of summer and encourages vigorous growth. Using a clone LED or T5 light with a light intensity of 80-160 umol will ensure that your clones receive the right amount of light for photosynthesis and energy production.
Temperature and Humidity
Maintaining an optimal temperature will support root development and overall clone health. Keep the temperature between 75-80 degrees Fahrenheit (24-27 degrees Celsius) to provide a warm and inviting environment for root growth.
Humidity is equally important. During the germination phase, aim for a humidity level of 75-80% to create a moist atmosphere conducive to root development. Once the clones have sprouted, reduce the humidity to 65-70% to prevent excessive moisture and potential mold or mildew issues.
Monitoring and Adjusting
It’s crucial to monitor and adjust these environmental factors as needed throughout the cloning process. Using a hygrometer to measure temperature and humidity levels will help you maintain the ideal conditions for successful cloning.
| Environmental Factors | Ideal Range |
|---|---|
| Light Cycle | 18-24 hours |
| Light Intensity | 80-160 umol |
| Temperature | 75-80°F (24-27°C) |
| Humidity (germination phase) | 75-80% |
| Humidity (after sprouting) | 65-70% |
By creating the optimal environment, you can ensure the successful growth and development of your clones. Monitoring and adjusting these environmental factors will help you achieve the best outcome.
Watering and Care for Clones
Proper watering and care are crucial for the successful growth of clones. Maintaining the right moisture levels and providing essential nutrients will support their development and root formation. Here are some key tips for watering and caring for clones with a propagation kit:
- Monitor the moisture levels: It is important to keep the propagation tray moist but not overly saturated. Check the water levels regularly and avoid letting the plugs dry out completely.
- Replace nutrient-rich water: During the rooting phase, replace the water at the bottom of the tray every 3-5 days to provide fresh nutrients. Once roots are established, daily watering is recommended.
- Avoid top feeding: Until the plugs have dried out, it is best to avoid top feeding as excessive moisture can lead to rotting stems. Instead, focus on keeping the plugs moist through bottom watering.
- Ensure adequate air movement: Clones need proper airflow to prevent the buildup of excess moisture and potential mold or disease issues. Using fans or opening vents in the propagation kit can help promote air circulation.
By following these watering and care practices, you can create a healthy and optimal environment for your clones to thrive and develop strong root systems.
Watering and Care Guidelines for Clones
| Watering and Care Tips | Actions |
|---|---|
| Monitor moisture levels | Check water levels regularly and maintain a moist, but not overly saturated, environment. |
| Replace nutrient-rich water | During the rooting phase, replace the water at the bottom of the tray every 3-5 days. Once roots are established, water daily. |
| Avoid top feeding | Do not top feed until the plugs have dried out. Excessive moisture can lead to rotting stems. |
| Ensure adequate air movement | Promote air circulation with fans or open vents to prevent excess moisture and mold formation. |
Creating the right watering and care routine is essential for the successful growth of your clones. By providing the necessary moisture and maintaining proper airflow, you can ensure their optimal development and increase their chances of becoming healthy, thriving plants.
Transplanting Clones for Continued Growth
After the clones have rooted successfully and are ready for continued growth, the next step is to transplant them into a suitable container.
Transplanting the clones is a critical process that requires careful handling to ensure their continued development. By following proper transplanting techniques, you can provide the clones with the necessary space and resources for their growth.
It is recommended to transplant the rooted clones into a 1-gallon pot or cube, providing ample room for their roots to expand. When transplanting, gently remove the rooted clone from the incubator tray, being careful not to damage the delicate roots.
Place the clone into the new container, ensuring that it is appropriately positioned and supported by the growing medium.
During the transplanting process, it is crucial to maintain the ideal environmental conditions for the clones’ growth.
Lower the humidity levels to prevent dampening off, a condition where the base of the stem becomes overly moist and rots. You can achieve this by gradually reducing the humidity within the growing environment.
Transplanting Clones: Best Practices
When transplanting clones for continued growth, there are a few best practices to keep in mind:
- Gently handle the clones to avoid damaging the delicate roots
- Use a suitable container, such as a 1-gallon pot or cube, to provide enough space for root development
- Ensure the clone is positioned correctly within the growing medium
- Gradually lower the humidity levels to prevent dampening off
- Continue to provide the appropriate lighting, temperature, and nutrients for optimal growth
By following these best practices, you can give your clones the best chance of thriving and continuing to grow into healthy plants.
Cleaning and Maintenance of the Propagation Kit
After each use, proper cleaning and maintenance of the propagation kit are essential to ensure the success of future cloning endeavors. Cleaning the kit helps prevent the spread of pests and diseases, creating a healthier environment for the plants. Here are the steps to follow:
- Start by cleaning the incubator dome and trays with a bleach solution. This will effectively kill any bacteria or fungi that may be present. Use a clean cloth or paper towel to wipe down the surfaces.
- Allow the bleach solution to soak on the trays for the recommended time. This will help eliminate any stubborn pathogens that may be hiding.
- Rinse the trays thoroughly with clean water to remove any residue from the bleach solution.
- Dry the trays completely before storing them. Moisture can promote the growth of mold or mildew, which can be harmful to the plants.
Important Note:
It is crucial to sterilize any tools used during the cloning process. This includes scissors, scalpels, or any other equipment that comes into contact with the plants. Use rubbing alcohol or a bleach solution to disinfect the tools between each use.
Regular maintenance of the propagation kit is also necessary to ensure its longevity. Inspect the kit for any signs of wear or damage and replace any faulty parts promptly. Additionally, keep the kit stored in a clean and dry location when not in use. This will help prevent the growth of mold or mildew and ensure that all components remain in good condition.
By following these cleaning and maintenance practices, you can keep your propagation kit in optimal condition, allowing for successful cloning and the continued growth of healthy plants.
Plant Cloning vs. Seed Germination
When it comes to propagating plants, two common methods are plant cloning and seed germination. Both techniques have their advantages and disadvantages, and the choice between the two depends on individual preferences and goals. Let’s take a closer look at each method to understand their differences and potential benefits.
Plant Cloning
Plant cloning involves taking cuttings from a healthy mother plant and propagating them to create identical replicas. This method allows for the preservation of specific traits and characteristics that are desirable in the parent plant. It is ideal for gardeners who want to replicate a plant with desired qualities, such as consistent flavor, disease resistance, or unique appearance. Cloning provides a reliable way to produce consistent and predictable results without the genetic variability often associated with seed germination.
Seed Germination
On the other hand, seed germination involves sprouting seeds to grow new plants. This method introduces new genetics into the garden, which can lead to a wider range of traits and characteristics. Seed germination is ideal for gardeners who enjoy experimenting and discovering new plant varieties. It offers the opportunity to explore different flavors, colors, and growth habits. Additionally, seed germination allows for the creation of unique hybrid plants by cross-pollinating different varieties.
| Plant Cloning | Seed Germination |
|---|---|
| Produces identical replicas of the parent plant | Introduces new genetics and variability |
| Preserves desired traits and characteristics | Allows for experimentation and exploration |
| Reliable and consistent results | Potential for unique and hybrid varieties |
| Requires cuttings from a healthy mother plant | Requires sourcing and germinating seeds |
Ultimately, whether you choose plant cloning or seed germination depends on your specific needs, preferences, and goals. If you are looking to replicate a specific plant with desirable traits, cloning is the way to go. If you enjoy experimentation and the excitement of growing new varieties, seed germination offers endless possibilities. Whichever method you choose, both plant cloning and seed germination contribute to the growth and diversity of a garden, allowing for a rewarding and enjoyable gardening experience.
Using a propagation kit for cloning plants is a highly effective method to replicate desired traits and characteristics in a garden. By following the step-by-step instructions, preparing the necessary supplies, and creating an optimal environment, successful cloning can be achieved. Whether you choose to clone plants or opt for seed germination, both methods have their unique advantages and contribute to the growth and diversity of your garden.
Cloning plants allows for the preservation of specific traits and characteristics, ensuring consistency in your garden. With a propagation kit, you can easily produce identical replicas of the parent plant, saving time and effort. On the other hand, seed germination introduces new genetics into your garden, offering the opportunity for variation and experimentation. Ultimately, the choice between cloning and germination depends on your individual preferences and goals.
By unlocking the secrets of plant cloning with a propagation kit, you can enjoy the satisfaction of watching your garden thrive with healthy, vibrant plants. Whether you’re a seasoned gardener or just starting out, the ability to propagate plants with precision and success is a valuable skill. So, gather your supplies, follow the proper process, and embark on your journey to create a thriving garden filled with the plants you love.
FAQ
What supplies do I need for cloning plants with a propagation kit?
You will need an incubator kit, bloom nutrients, root drip, veg foliar, pH adjusters, clone LED or T5 light, sterilized tools, and more.
How do I prepare for cloning plants with a propagation kit?
You need to create a nutrient-rich solution, select a healthy mother plant, take cuttings, treat them with rooting hormone, and place them in the kit.
What are the steps for cloning plants with a propagation kit?
Pre-soak the plugs, place them in the incubator tray, select a healthy branch, cut below the bottom node, dip in rooting hormone, insert into the plug, foliar spray, place the incubator dome, provide the necessary light cycle, intensity, temperature, and humidity, and gradually acclimate the clones to a veg environment.
What environmental factors are important for successful cloning?
Light cycles of 18-24 hours, light intensity of 80-160 umol, temperature of 75-80 degrees Fahrenheit, and humidity levels of 75-80% during germination and 65-70% after sprouting are ideal for clone growth.
How should I water and care for the clones?
Replace the nutrient-rich water at the bottom of the tray every 3-5 days during the rooting phase and daily once roots are established. Top feeding should be avoided until the plugs dry out, and excessive moisture should be removed from the tray. Gradually acclimate the clones to a veg environment and ensure adequate air movement.
How do I transplant clones for continued growth?
Gently remove the rooted clone from the incubator and place it in a suitable container, such as a 1-gallon pot or cube. Lower the humidity levels to prevent dampening off and follow proper transplanting techniques.
How do I clean and maintain the propagation kit?
Clean the incubator dome and trays with a bleach solution and a clean cloth or paper towel. Regular maintenance and cleanliness of the kit will contribute to the success of future cloning endeavors.
What is the difference between plant cloning and seed germination?
Plant cloning involves taking cuttings from a mother plant to produce identical replicas, while seed germination involves sprouting seeds to grow new plants. Cloning preserves specific traits, while germination introduces new genetics.
How do I summarize plant cloning with a propagation kit?
Using a propagation kit for cloning plants allows for reliable and effective replication of desired traits. With the right supplies, preparation, and care, successful cloning can be achieved for a thriving garden.

