Spider plants are a popular choice for indoor plant lovers due to their easy-to-grow nature and beautiful foliage. In this guide, I will provide you with essential care tips to ensure your spider plant thrives and remains healthy.
Spider Plant Care involves providing the optimal conditions for your plant. This includes placing it in a room with bright to moderate light and keeping the soil slightly moist.
It’s important to water your spider plant once a week in spring and summer, adjusting the frequency in winter when the soil should be allowed to dry more between waterings. Regular fertilization with a balanced houseplant fertilizer will also promote healthy growth.
Key Takeaways:
- Place your spider plant in a room with bright to moderate light.
- Keep the soil slightly moist, watering once a week in spring and summer.
- Allow the soil to dry more between waterings in winter.
- Fertilize your spider plant every two to three weeks with a balanced houseplant fertilizer.
- Spider plants are known for their air-purifying qualities and can improve indoor air quality.
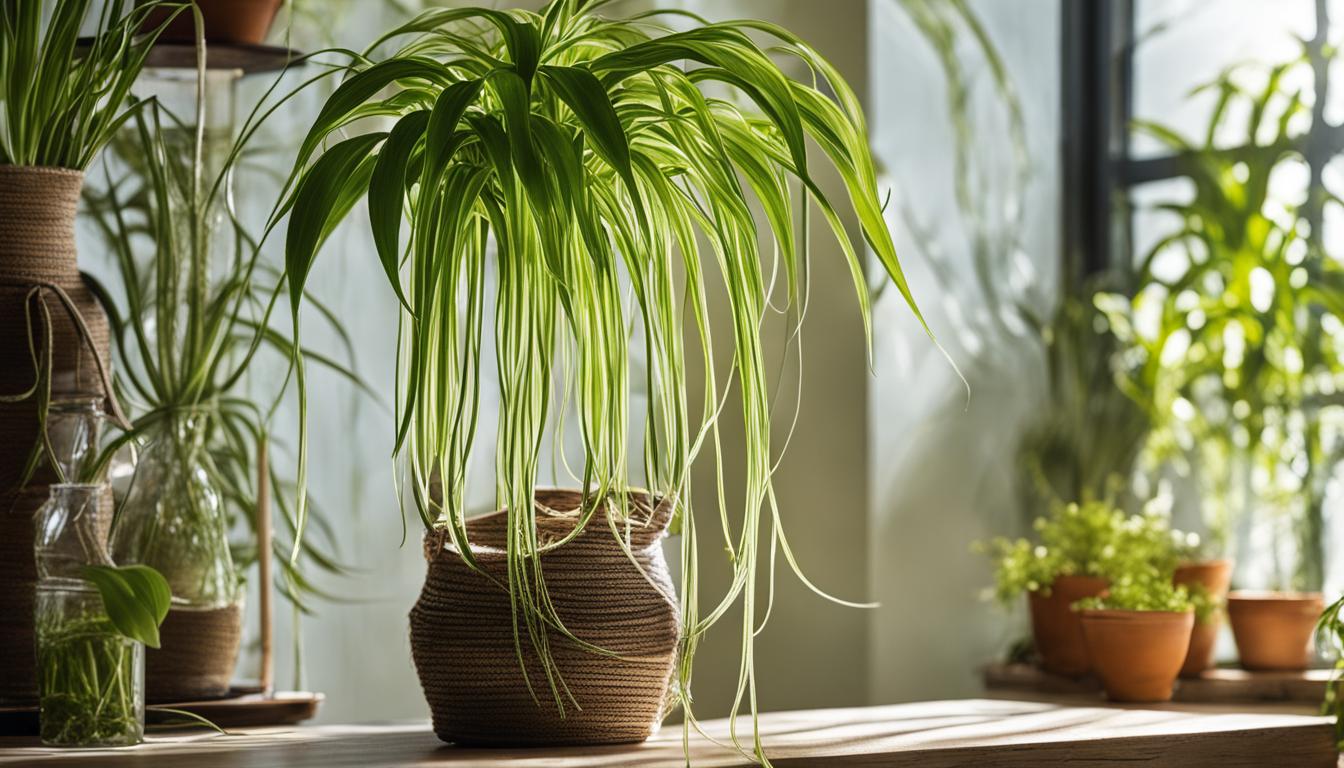
An Introduction to Spider Plants
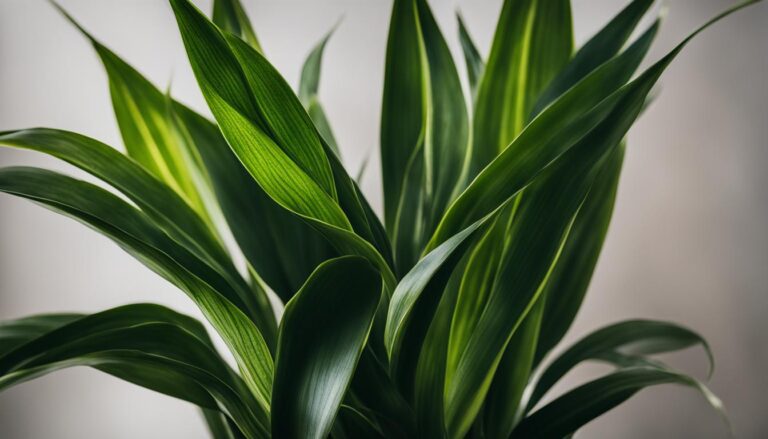
Spider plants, scientifically known as Chlorophytum comosum, are popular houseplants that are cherished for their adaptability and ease of growth. These plants feature long, narrow leaves that cascade over the edge of the pot, creating an elegant and vibrant display.
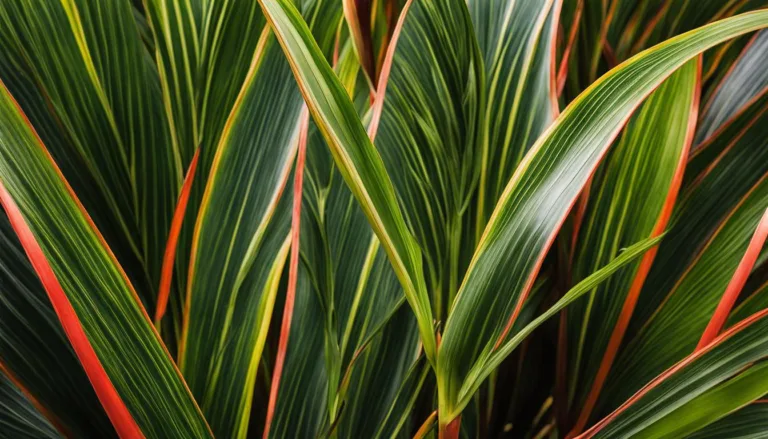
Spider plants come in different varieties, each with its own unique characteristics and charm.
Some of the popular varieties of spider plants include Chlorophytum comosum ‘vittatum’, which boasts green leaves with white stripes, and Chlorophytum comosum ‘variegatum’, with its green leaves adorned with yellow variegation.
Other notable varieties include Chlorophytum comosum ‘milky way’, Chlorophytum comosum ‘white stripe’, and Chlorophytum comosum ‘mandaianum’.
Spider plants are highly sought after due to their low maintenance requirements, making them an excellent choice for beginners and busy individuals. These plants are known for their resilience and ability to thrive in a variety of environments.
Whether you have limited access to natural light or struggle to maintain consistent watering practices, spider plants can still flourish with minimal effort.
Spider Plant Varieties
| Variety | Description |
|---|---|
| Chlorophytum comosum ‘vittatum’ | This variety features green leaves with elegant white stripes, adding a touch of sophistication to any space. |
| Chlorophytum comosum ‘variegatum’ | With its eye-catching green leaves embellished with yellow variegation, this variety brings a vibrant pop of color to your indoor garden. |
| Chlorophytum comosum ‘milky way’ | The ‘milky way’ variety showcases green leaves adorned with charming white spots, reminiscent of a starry night sky. |
| Chlorophytum comosum ‘white stripe’ | Featuring green leaves accentuated by crisp white stripes, this variety brings a touch of elegance and simplicity to any room. |
| Chlorophytum comosum ‘mandaianum’ | With its unique curly leaves, the ‘mandaianum’ variety adds a playful and whimsical element to your indoor garden. |
Spider plants are not only visually appealing; they also offer various health benefits. They are known for their air-purifying qualities, effectively removing harmful elements from the surrounding air and improving indoor air quality.
With their aesthetic appeal and air-purifying properties, spider plants are a wonderful addition to any home or office environment.
Essential Spider Plant Care Tips
Proper care is essential to keep your spider plants healthy and thriving. Here are some care tips to ensure your spider plants receive the optimal conditions:
Proper Watering Techniques for Spider Plants
Spider plants prefer slightly moist soil. Water your spider plant once a week during spring and summer, allowing the soil to dry out slightly between waterings. In winter, reduce watering as the plant’s growth slows down. Avoid overwatering, as it can lead to root rot.
To check if your plant needs watering, touch the top inch of soil – if it feels dry, it’s time to water. If it feels moist, wait for a few more days before watering again.
Optimal Temperature for Healthy Spider Plants
Spider plants thrive in temperatures that are comfortable for humans. Keep your spider plant in a room with a temperature range of 65-75°F (18-24°C). Avoid exposing your spider plant to extreme temperature fluctuations or drafts, as they can cause stress and damage to the leaves.
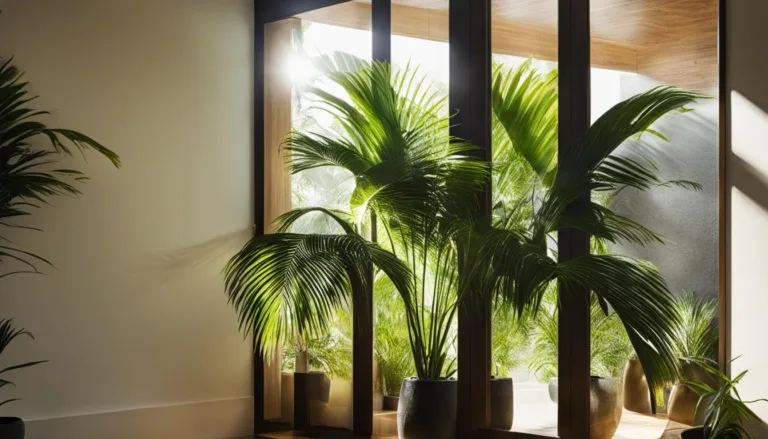
Understanding Light Requirements for Spider Plants
Spider plants can tolerate a wide range of light conditions, but they do best in bright to moderate indirect light. Avoid placing them in direct sunlight, as it can scorch their leaves. If the leaves start turning yellow or brown, it may be a sign that the plant is receiving too much light.
On the other hand, if the leaves become pale or the plant appears leggy, it may be an indication that it’s not receiving enough light. Adjust the placement of your spider plant accordingly to ensure it receives the right amount of light.
By following these care tips, you can provide optimal conditions for your spider plants and enjoy their lush green foliage in your home.
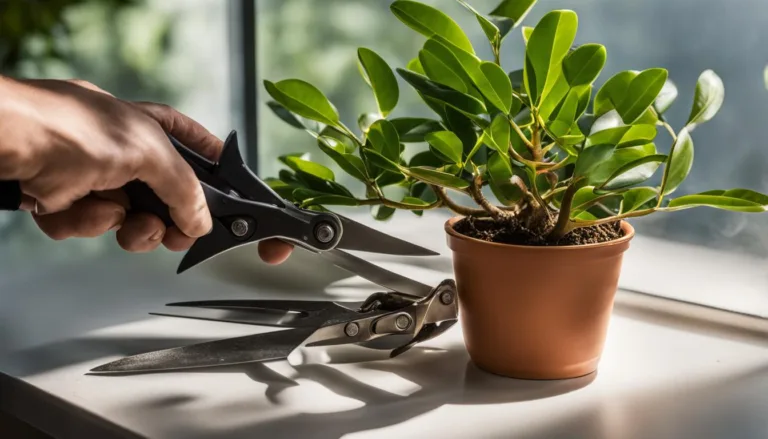
Planting and Repotting Your Spider Plant
Planting and repotting your spider plant are important steps in ensuring its growth and long-term health. Whether you’re starting with a new spider plant or need to repot an existing one, proper techniques and timing are essential. Here are some tips to help you with the process:
When to Plant Spider Plants
You can plant spider plants at any time of the year, but spring is generally the best time for optimal growth. During the spring months, the plant is naturally entering its active growth phase, making it more receptive to planting and establishing roots. However, if you have a healthy spider plant that needs repotting, you can do so at any time.
Choosing the Right Pot and Soil
When planting or repotting your spider plant, it’s important to choose a pot that has drainage holes. This will prevent water from pooling in the roots and causing root rot. Additionally, using well-draining potting soil is essential to ensure proper moisture levels and prevent overwatering.
Spider plants prefer soil that is slightly acidic with a pH of around 6.0 to 6.5.
Signs It’s Time to Repot
There are a few signs that indicate it’s time to repot your spider plant. These include roots growing out of the drainage holes, the plant becoming rootbound (where the roots have filled the entire pot), or the water draining too quickly after watering.
If you notice any of these signs, it’s a good indication that your spider plant needs a larger pot to accommodate its growing roots.
| Signs It’s Time to Repot | Solutions |
|---|---|
| Roots growing out of drainage holes | Repot into a larger pot with fresh soil |
| Plant becoming rootbound | Choose a larger pot and gently remove the plant from its current pot, freeing any tightly bound roots before placing it in the new pot |
| Water draining too quickly after watering | Repot into a larger pot to provide more space for soil, which will retain moisture better |
By following these planting and repotting guidelines, you can ensure the continued health and vitality of your spider plant. Remember to choose the right pot and soil, and keep an eye out for signs that it’s time to repot. With proper care, your spider plant will thrive and bring beauty to your home or office space.

Propagation: Growing New Spider Plants
Propagating spider plants is a rewarding process that allows you to expand your collection and share the beauty of these plants with others. With their ability to produce plantlets, also known as spider plant babies, propagating spider plants is a relatively simple task. Here is a step-by-step guide to propagating spider plants:
- Look for the plantlets that grow at the end of long shoots. These plantlets will have small roots and can be separated from the parent plant.
- Prepare small pots with damp potting mix. Fill the pots with the mix and create a small hole in the center.
- Gently remove a plantlet from the parent plant and place it in the hole of one of the pots. Lightly press the base of the plantlet into the soil.
- Repeat the process with the remaining plantlets, placing each one in its own pot.
- Keep the soil of the pots moist by watering regularly.
- After two to three weeks, the plantlets should root and begin to grow. At this point, you can continue to grow them in their smaller pots or transplant them into larger pots.
Another method of propagating spider plants is by placing the plantlet in a glass of water. Simply place the plantlet in the water, ensuring that the base is submerged. After a couple of weeks, the plantlet should develop roots. Once the roots have formed, you can transfer the plantlet to a pot with soil.
By following these simple steps, you can successfully propagate spider plants and enjoy watching them grow into beautiful, thriving plants. Whether you choose to root the plantlets in soil or water, both methods can be effective in producing healthy spider plants.
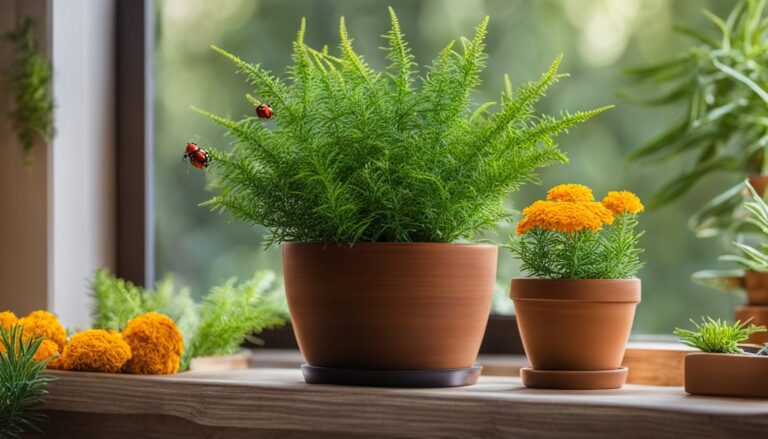
Common Problems and Solutions for Spider Plants
While spider plants are generally easy to care for, they can encounter a few common problems. One issue you may notice is brown tips on the leaves. This can be a sign of over- or underwatering, as well as a lack of humidity.
To address this, adjust your watering routine to ensure the soil is slightly moist but not waterlogged. Additionally, consider increasing humidity levels by misting the leaves or placing a tray of water nearby.
Another challenge for spider plants is dealing with pests. Aphids, scale, and mealybugs can infest your plant and cause damage. If you spot aphids, you can try showering the plant with water or using insecticidal soap to eliminate them.
For scale and mealybugs, gently rubbing the affected areas with rubbing alcohol can help get rid of them.
Lastly, the gradual build-up of minerals or salts from fertilizer can lead to browning of the leaf tips. To prevent this, it’s important to periodically flush out the accumulated salts by thoroughly watering the plant until the water runs off. This will help maintain healthy foliage and prevent leaf browning.
After reading this, check out our other articles on:
FAQ
How often should I water my spider plant?
Water your spider plant once a week in spring and summer, and allow the soil to dry more between waterings in winter.
Where should I place my spider plant?
Spider plants thrive in bright to moderate light, so place them in a room with those light conditions. Avoid direct sunlight, as it can burn their leaves.
How do I propagate spider plants?
To propagate spider plants, look for the plantlets that grow at the end of long shoots. Remove the plantlets from the parent plant and root them in damp potting mix or water until they develop roots, then plant them in pots of soil.
Why are the tips of my spider plant’s leaves turning brown?
Browning leaf tips can be a sign of over- or underwatering, as well as a lack of humidity. Adjust your watering routine and provide more humidity to solve this issue.
How do I repot my spider plant?
When your spider plant’s roots start growing out of the drainage holes or the plant becomes rootbound, it’s time to repot it into a larger pot. Choose a pot with drainage holes, use well-draining potting soil, and carefully transfer the plant to the new pot.
How do I take care of spider plant pests?
Showering the plant with water or using insecticidal soap can help get rid of aphids. Scale and mealybugs can be removed with rubbing alcohol. Regularly inspect your plant for pests and take action if necessary.
4 Comments
Comments are closed.