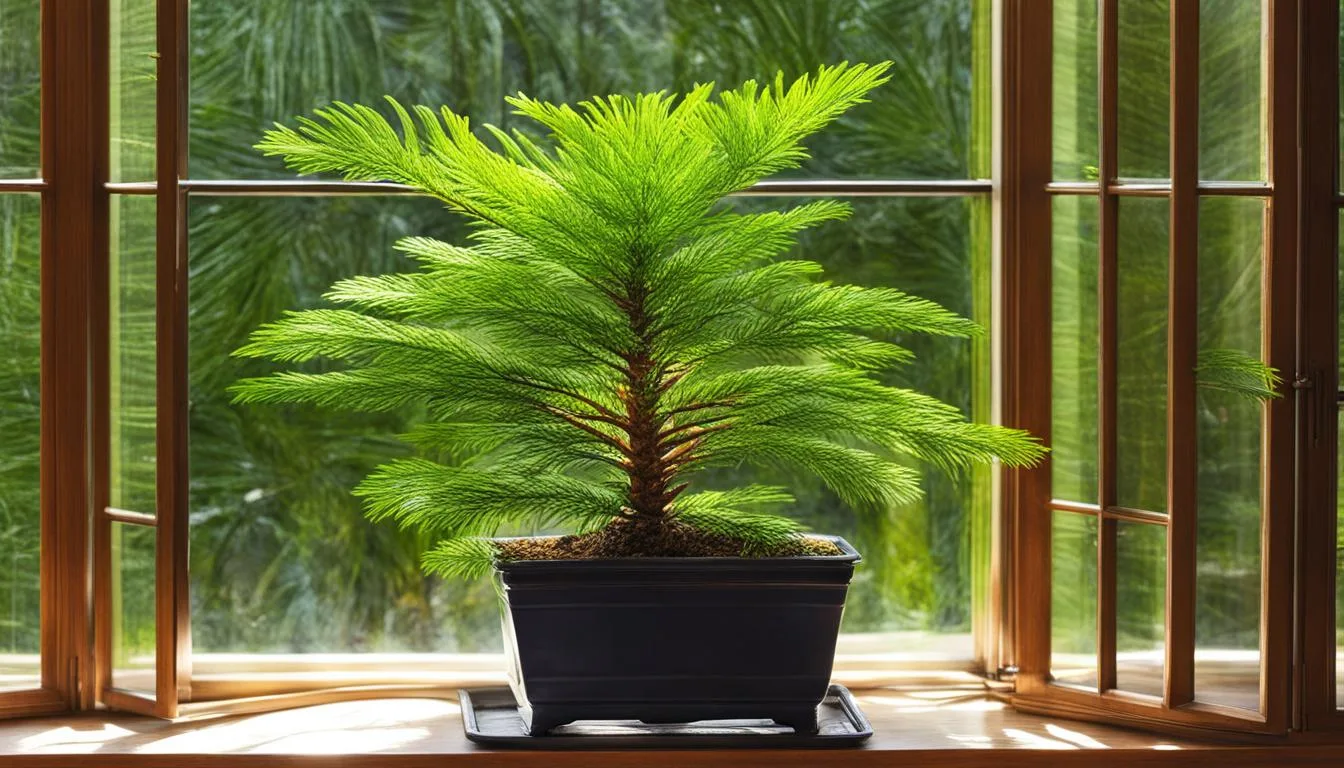
Native to subtropical climates, the Norfolk Island pine, also known as Araucaria heterophylla, is a popular indoor plant. Whether you’re a seasoned plant parent or just starting your indoor gardening journey, providing the right care is essential for the optimal growth and health of your Norfolk Island pine.
In this article, I will share some tips and guidelines for maintaining a Norfolk Island pine indoors, from lighting and watering to soil and temperature requirements.
Key Takeaways:
- Place your Norfolk Island pine near a south-facing window to provide ample sunlight.
- Water your plant every two weeks, allowing the soil to slightly dry out between waterings.
- Mist the leaves daily or use a humidifier to create a humid environment, as Norfolk Island pines thrive in high humidity.
- Use well-draining, slightly acidic soil and fertilize with a balanced fertilizer during the growing season.
- Maintain a warm and stable temperature between 65°F and 70°F, avoiding cold drafts.
Light Requirements for Norfolk Island Pine
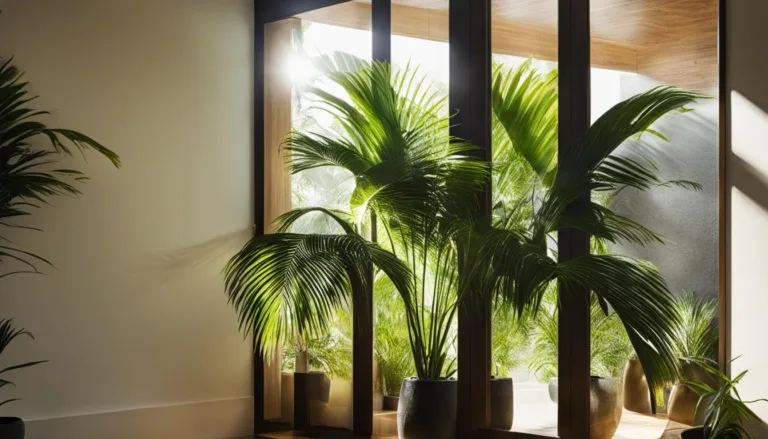
To ensure the proper growth and health of your Norfolk Island pine indoors, it is crucial to provide the right lighting conditions. Norfolk Island pines thrive in bright, indirect light and prefer full sun whenever possible.
Placing your plant near a south-facing window can provide it with the maximum amount of light. If a south-facing window is not available, east or west-facing windows can also work, but the plant may need to be rotated frequently to ensure all sides receive equal light.
If the plant is not receiving enough light, it may start to stretch or become leggy. This is a sign that it needs more exposure to sunlight.
Consider using supplemental lighting, such as fluorescent or grow lights, to provide the necessary light intensity. Position the lights about 12 to 18 inches above the plant and keep them on for 10 to 12 hours a day.
It is important to note that while Norfolk Island pines can tolerate periods of dimmer light, they may not thrive in low-light conditions for an extended period.
If you notice the plant’s growth slowing down or the foliage becoming sparse, it may be an indication that it needs more light. Adjust the positioning of the plant or provide additional lighting to promote healthy growth.
Light Requirements for Norfolk Island Pine
| Lighting Conditions | Effect on Plant |
|---|---|
| Full sun | Ideal for optimal growth |
| Bright, indirect light | Preferred lighting condition |
| Periods of dimmer light | Tolerated, but may affect growth |
| Low-light conditions | Not recommended for extended periods |
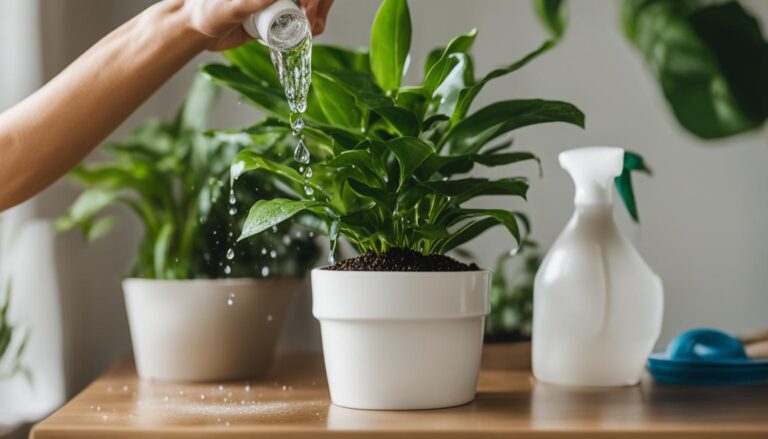
Watering and Humidity for Norfolk Island Pine
Proper watering is essential for the health and vitality of a Norfolk Island pine when grown indoors. Adequate hydration ensures that the plant receives the necessary nutrients and moisture to thrive. It is important to strike a balance, as both overwatering and underwatering can be detrimental to the plant’s well-being.
To maintain optimal moisture levels, water your Norfolk Island pine approximately every two weeks, allowing the soil to slightly dry out between waterings. Before watering, check the top inch of the soil with your finger – if it feels dry, it’s time to water. Ensure that the pot has drainage holes to prevent waterlogged roots, as excess moisture can lead to root rot.
In addition to regular watering, maintaining proper humidity levels is crucial for the health and well-being of your Norfolk Island pine. These plants thrive in humid environments, similar to their native subtropical climate.
Misting the plant’s leaves with water daily can help increase humidity and prevent the needles from drying out. You can also place the plant near other houseplants or use a humidifier to create a more humid atmosphere.
Guidelines for Watering and Humidity
| Watering | Humidity |
|---|---|
| Water every two weeks, allowing soil to slightly dry out between waterings | Mist leaves with water daily |
| Avoid overwatering to prevent root rot | Consider using a humidifier or placing the plant near other houseplants |
By following these watering and humidity guidelines, you can ensure the optimal health and growth of your Norfolk Island pine indoors. Remember to monitor the soil moisture and adjust your watering schedule accordingly, and create a humid environment to mimic the plant’s natural habitat. With proper care, your Norfolk Island pine will flourish as a beautiful and vibrant addition to your indoor space.
Soil and Fertilizer for Norfolk Island Pine

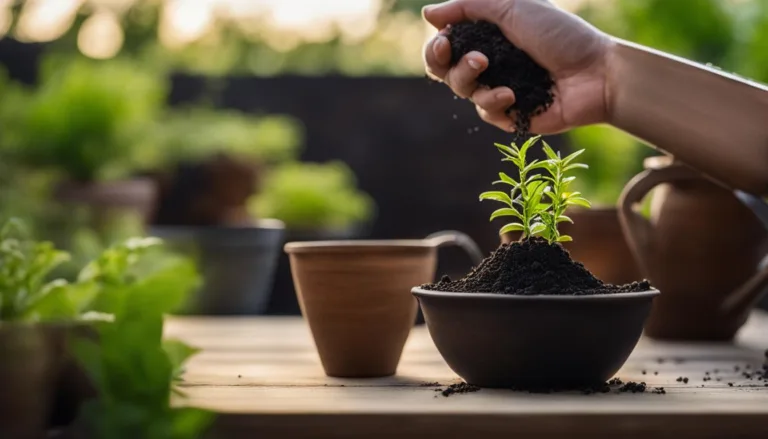
Proper soil and fertilizer are essential for the healthy growth of Norfolk Island pines. These plants prefer well-draining soil that is slightly acidic.
To create the ideal soil composition, you can use a potting mix that contains extra peat moss and sand. The peat moss helps to improve acidity, while the sand enhances porosity, allowing for better drainage.
When it comes to fertilizing Norfolk Island pines, a balanced approach is key. During the growing season, which typically spans from spring to early fall, you can use a weak liquid fertilizer with an NPK formulation of 20-20-20. This balanced fertilizer provides the necessary nutrients for the plant’s overall health and growth.
Alternatively, you can opt for fertilizers specifically formulated for conifers or azaleas. These types of fertilizers often contain the acidity that Norfolk Island pines thrive on. Be sure to follow the instructions on the fertilizer packaging and avoid over-fertilization, as excessive nutrients can harm the plant.
Potting Mix Composition for Norfolk Island Pines
A suitable potting mix for Norfolk Island pines should have a balanced combination of organic matter, such as peat moss or coconut coir, and inorganic matter, such as perlite or vermiculite.
This composition ensures proper drainage and aeration for the plant’s roots. Additionally, adding sand to the mix can improve the soil’s texture and prevent compaction.
| Ingredient | Percentage |
|---|---|
| Organic matter | 50% |
| Inorganic matter | 30% |
| Sand | 20% |
Fertilizer Application Schedule for Norfolk Island Pines
The application of fertilizer for Norfolk Island pines should be done with caution and in accordance with the plant’s growth stage. Here is a recommended schedule:
- Fertilize once every two weeks during the active growing season (spring to early fall).
- Use a weak liquid fertilizer with an NPK formulation of 20-20-20.
- Follow the instructions on the fertilizer packaging for the correct dilution ratio.
- Reduce or stop fertilization during the plant’s dormant period in fall and winter.
By providing the right soil composition and fertilization schedule, you can ensure that your Norfolk Island pine receives the nutrients it needs for optimal growth and vitality.
Temperature and Climate for Norfolk Island Pine

Proper temperature and climate conditions are essential for the health and well-being of Norfolk Island Pine indoors. These plants prefer temperatures between 65°F and 70°F, making them suitable for most indoor environments.
It’s important to note that prolonged exposure to temperatures below 35°F can be detrimental to the plant and should be avoided.
To ensure the optimal growth and development of your Norfolk Island Pine, it’s crucial to keep the plant away from cold drafts and provide a warm and stable climate. Avoid placing the plant near doors, windows, or air conditioning vents that may expose it to sudden temperature changes.
If you live in a colder climate, it’s best to keep the Norfolk Island Pine indoors year-round or consider moving it outside during the warmer summer months when temperatures are consistently favorable.
| Temperature | Climate |
|---|---|
| 65°F – 70°F | Optimal temperature range for Norfolk Island Pine |
| Below 35°F | Prolonged exposure can be detrimental to the plant |
Note: The Norfolk Island Pine is a tropical plant and may struggle in excessively hot or cold environments. It’s important to maintain a comfortable temperature range to ensure its well-being.
Pruning and Propagation of Norfolk Island Pine
Pruning Norfolk Island pines is generally not necessary, as they have a naturally symmetrical and attractive shape. However, if you notice any dead or diseased branches, it’s important to remove them promptly to maintain the plant’s overall health and appearance.
Additionally, if your potted Norfolk Island pine becomes too large for its space, you can trim the central leader to encourage branching and maintain a more compact size.
When it comes to propagation, Norfolk Island pines can be propagated through seeds. To do this, place the seeds on a moist sandy mix in a shallow container. Cover the container with plastic wrap to create a humid environment, and keep it in bright, indirect light.
It’s important to note that propagating Norfolk Island pines from seeds can take some time, as they can be slow to germinate and establish roots. However, with patience and proper care, you can successfully grow new plants from seeds.
Norfolk Island Pine Repotting Guide
Proper repotting is an essential aspect of maintaining a Norfolk Island Pine indoors. As the plant grows, it may outgrow its current container, become root-bound, or show signs of stress. Repotting provides the opportunity to provide fresh soil and ensure adequate space for the roots to grow.
Young Norfolk Island Pines can be repotted every 2 to 4 years, while mature plants may require more frequent repotting. The best time to repot is during the spring or summer when the plant is actively growing. Here is a step-by-step guide to repotting your Norfolk Island Pine:
Step 1: Choose the Right Pot
Select a slightly larger pot with drainage holes to prevent waterlogging. The pot should provide enough room for the roots to spread out comfortably. A pot that is 1 to 2 inches larger in diameter than the current one is usually sufficient.
Step 2: Prepare the Potting Mix
Use a well-draining potting mix that is slightly acidic. You can create a suitable mix by combining peat moss, sand, and a small amount of perlite or vermiculite. This mixture will promote good drainage and provide the right environment for the roots.
Step 3: Remove the Plant from the Current Container
Gently tap the sides of the pot to loosen the roots. Carefully lift the plant out of the pot, holding it at the base. Inspect the roots and trim any that are damaged, diseased, or overly long.
Step 4: Repot the Plant
Place a layer of fresh potting mix in the new pot. Position the Norfolk Island Pine in the center and add more potting mix around the roots, pressing gently to secure the plant. Leave about an inch of space between the soil surface and the rim of the pot to allow for watering.
Step 5: Water and Care for the Repotted Plant
After repotting, thoroughly water the plant until water drains out from the bottom. Keep the soil evenly moist for the first few weeks to help the roots establish in their new pot. Maintain the plant’s regular care routine, including providing adequate light, humidity, and fertilizer as necessary.
Repotting is an important process to ensure the continued health and growth of your Norfolk Island Pine. By following these steps and providing the right conditions, you can help your plant thrive and beautify your indoor space.
Common Issues and Pests
When caring for a Norfolk Island Pine indoors, it is important to be aware of common issues and pests that can affect the plant’s health. Overwatering is one of the most common problems, as it can lead to root rot and other fungal diseases.
To avoid this, make sure to allow the soil to dry slightly between waterings and never let the plant sit in water for extended periods. It’s also important to monitor the humidity levels, as Norfolk Island Pines prefer a humid environment. Dry air can cause the leaves to dry out and turn brown.
Another issue to watch out for is pest infestation. Norfolk Island Pines can attract pests such as aphids, mealybugs, scale, mites, and whiteflies. These pests can cause damage to the plant’s leaves and overall health.
To control pests, you can use organic insecticides or try natural remedies such as neem oil or insecticidal soap. Regularly inspect the plant for any signs of pests and take appropriate action to prevent infestations from spreading.
Disease: Root Rot
Common Issues and Pests
| Issue/Pest | Symptoms | Treatment |
|---|---|---|
| Overwatering | Yellowing or browning of leaves, root rot | Allow soil to dry between waterings, improve drainage |
| Dry air | Browning and drying of leaves | Increase humidity, mist the plant regularly |
| Aphids | Presence of small, green insects on leaves | Use insecticidal soap or neem oil |
| Mealybugs | White, cotton-like masses on leaves and stems | Remove with a cotton swab dipped in alcohol |
| Scale | Small, brown or black bumps on leaves and stems | Remove with a cotton swab dipped in alcohol |
| Mites | Webbing and yellow stippling on leaves | Use insecticidal soap or neem oil |
| Whiteflies | Presence of small, white insects on leaves | Use insecticidal soap or neem oil |
By being proactive and taking steps to prevent and address these common issues and pests, you can ensure the health and vitality of your Norfolk Island Pine. Regular inspection, proper watering, and appropriate pest control measures will help keep your plant looking beautiful and thriving.
Norfolk Island Pine Indoor Care: Suitable Alternatives for Similar Conditions
If you are looking for alternative indoor plants that thrive in similar conditions to a Norfolk Island Pine, there are several options to consider. These plants offer beauty and low-maintenance qualities, making them excellent choices for indoor gardening.
Succulents and Cacti
Succulents and cacti are great alternatives that can tolerate bright indirect light, making them perfect for east-facing windows. These plants come in a variety of shapes, sizes, and colors, adding a unique touch to any indoor space. Some popular choices include the jade plant, aloe vera, and various species of cacti.
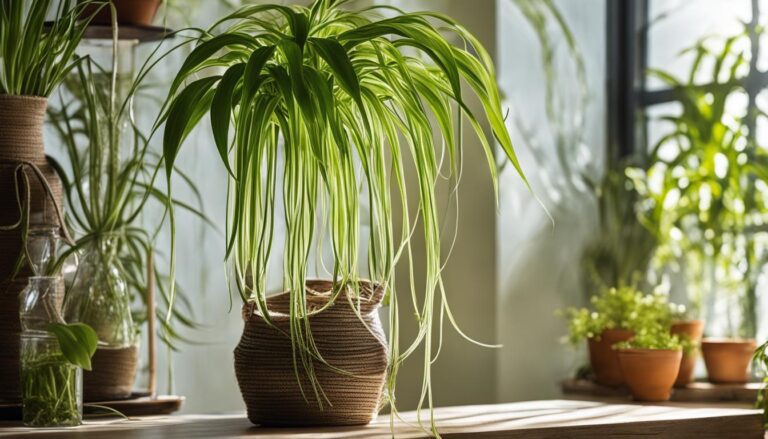
Pothos and Spider Plants
Pothos and spider plants are known for their ability to thrive in a wide range of indoor conditions, including low light. They are low-maintenance and can tolerate neglect, making them ideal for beginners or busy individuals. These plants also have air-purifying qualities, helping to improve indoor air quality.
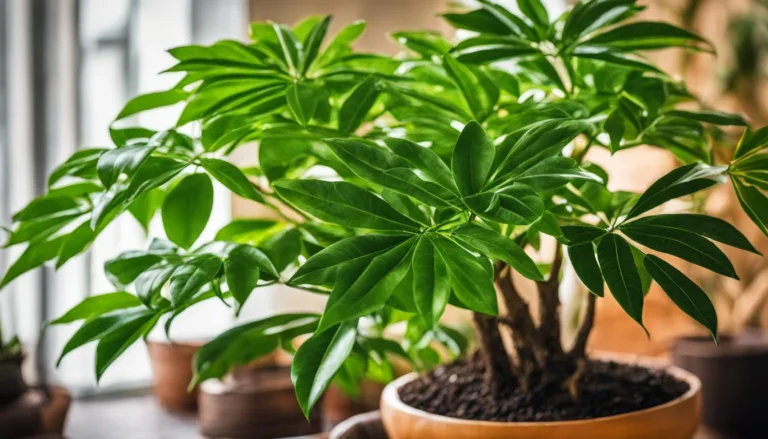
Umbrella Trees, Chinese Evergreens, Dracaena, and Peace Lilies
Umbrella trees, Chinese evergreens, dracaena, and peace lilies are all great options for indoor maintenance. These plants can tolerate a variety of light conditions, from bright indirect light to low light. They also have attractive foliage and can add a tropical touch to your indoor space.
| Plant | Light Requirements | Care Level | Benefits |
|---|---|---|---|
| Succulents and Cacti | Bright indirect light | Low | Low water requirements, unique appearance |
| Pothos and Spider Plants | Low to bright indirect light | Low | Air-purifying qualities, easy to propagate |
| Umbrella Trees, Chinese Evergreens, Dracaena, and Peace Lilies | Low to bright indirect light | Low to moderate | Attractive foliage, tropical feel |
When choosing a plant as an alternative to a Norfolk Island Pine, consider the amount of light and humidity available in your specific location. These alternatives offer versatility, beauty, and ease of care, making them suitable options for indoor gardening enthusiasts.
As we conclude this article, it’s clear that maintaining a Norfolk Island pine indoors requires some specific care and attention. By following the tips and guidelines provided, you can ensure the optimal growth and health of your plant.
Remember to provide adequate lighting by placing your Norfolk Island pine near a south-facing window. This will help the plant thrive and prevent it from becoming leggy.
Additionally, be mindful of the watering needs of your plant, allowing the soil to dry out slightly between waterings to avoid overwatering and root rot.
Humidity is also crucial for the health of a Norfolk Island pine. Misting the plant daily and considering a humidifier or grouping it with other houseplants can help create a more suitable environment.
Finally, don’t forget to choose a well-draining, slightly acidic soil and use a weak liquid fertilizer to provide the necessary nutrients for your plant’s growth.
With proper care and attention, your Norfolk Island pine can become a stunning focal point in your indoor space. So go ahead and create the ideal conditions for your plant, and enjoy the beauty it brings to your home.
FAQ
How much light does a Norfolk Island Pine need indoors?
Norfolk Island Pines prefer full sun whenever possible, but can also tolerate periods of dimmer light. Place the plant near a south-facing window to provide as much light as possible.
How often should I water my Norfolk Island Pine indoors?
Water the plant at least every two weeks indoors, allowing the soil to dry out slightly between waterings. Avoid overwatering to prevent root rot.
What type of soil and fertilizer should I use for my Norfolk Island Pine?
Norfolk Island Pines prefer well-draining soil that is slightly acidic. Use a potting mix with extra peat moss and sand. When fertilizing, use a weak liquid fertilizer with an NPK formulation of 20-20-20 or look for fertilizers specifically formulated for conifers or azaleas.
What temperature range is best for Norfolk Island Pine indoors?
Norfolk Island Pines prefer temperatures between 65°F and 70°F. Avoid prolonged exposure to temperatures below 35°F and keep the plant away from cold drafts.
Do I need to prune my Norfolk Island Pine?
Pruning is not generally necessary, but you can remove dead or diseased branches. If the plant becomes too large, you can trim the central leader to encourage branching.
How often should I repot my Norfolk Island Pine?
Young Norfolk Island Pines can be repotted every 2 to 4 years, while mature plants may require more frequent repotting. Use a slightly larger container with well-draining potting mix that is slightly acidic.
What are common issues and pests that affect Norfolk Island Pines?
Norfolk Island Pines can be susceptible to root rot from overwatering and browning of needles from underwatering. Pests such as aphids, mealybugs, scale, mites, and whiteflies can also affect the plant.
Are there any alternatives to Norfolk Island Pine for similar indoor conditions?
Some alternatives for similar conditions include succulents, cacti, pothos, spider plants, umbrella trees, Chinese evergreens, dracaena, and peace lilies. Choose plants that can tolerate the available light and humidity in your specific location.
What is the importance of maintaining a Norfolk Island Pine indoors?
Maintaining a Norfolk Island Pine indoors ensures optimal growth and health of the plant year-round. Providing adequate light, watering, and humidity are key factors in the plant’s care.